Posted on

How to Set your Internal Halyard Length
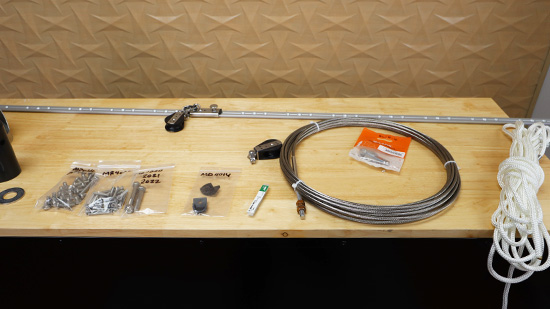
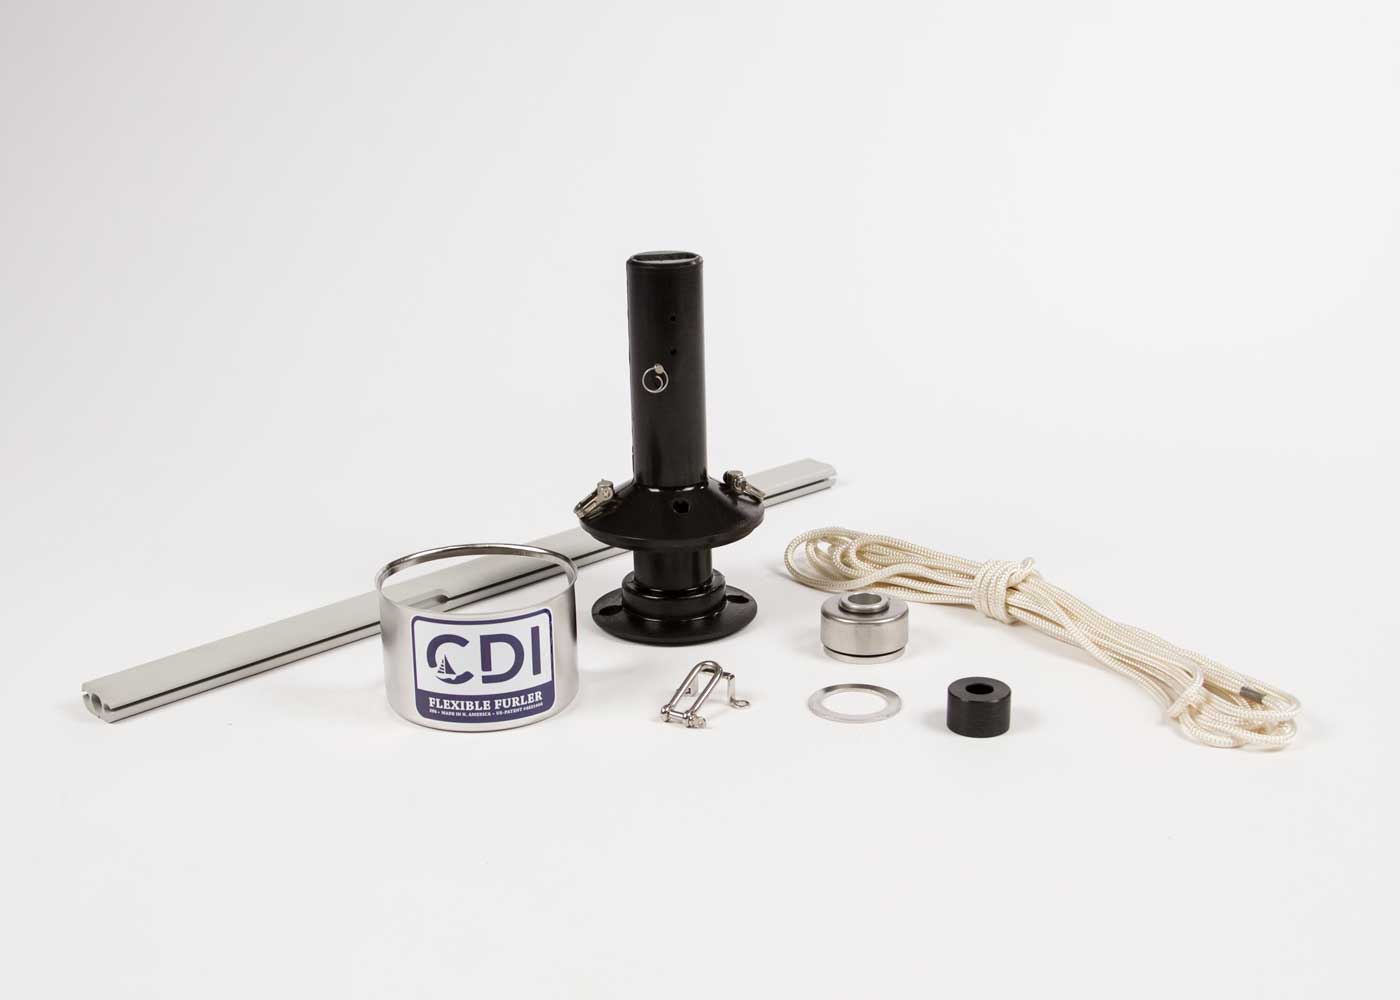
CDI-MR2-Parts

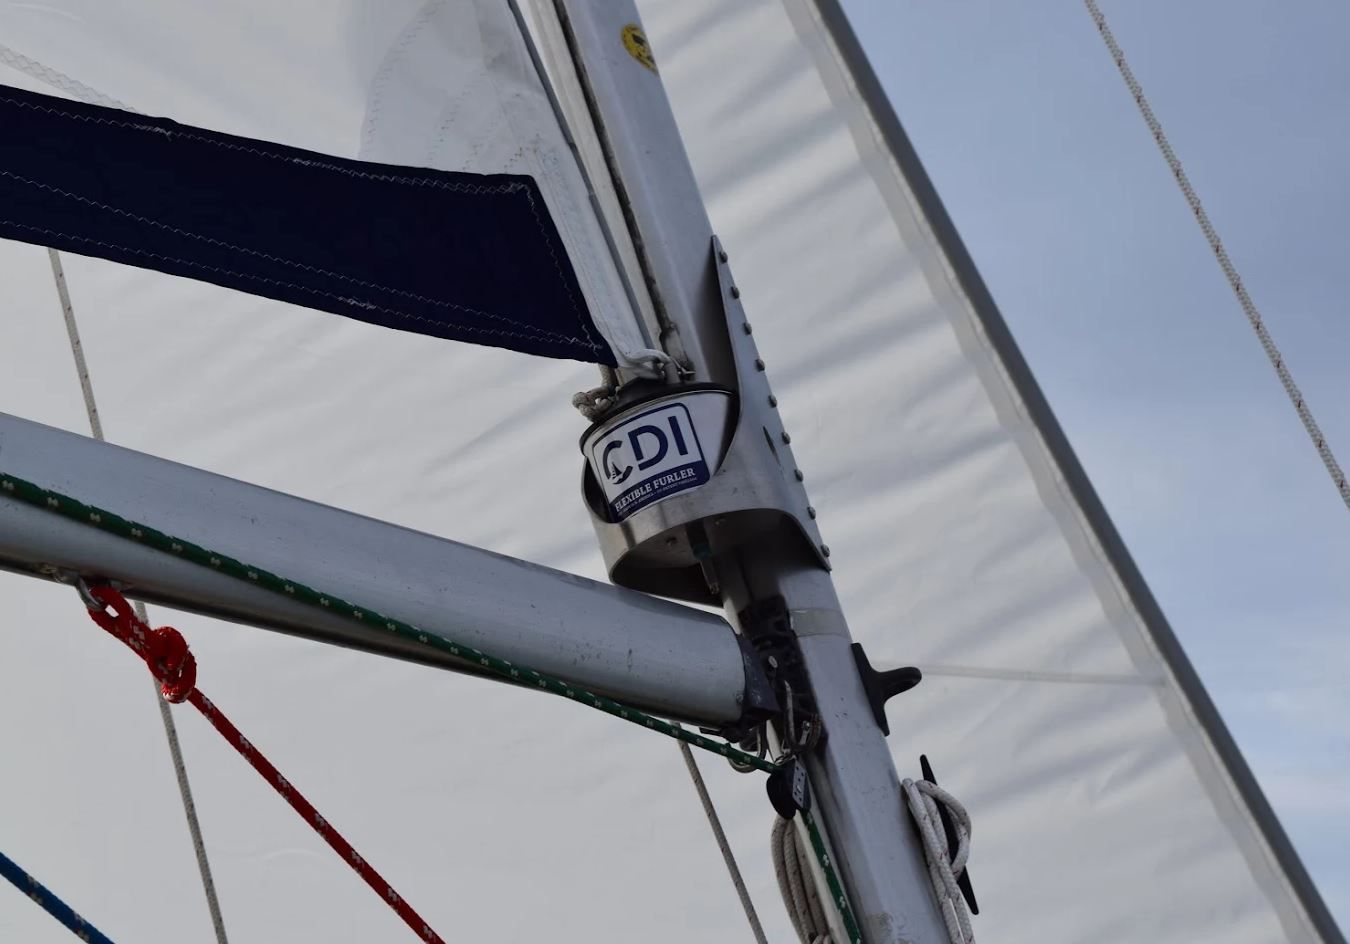
One of the main advantages of the CDI Flexible Furler is the internal halyard, From giving you flexibility to add a genoa sleeve or other accessory to be run off your rigs existing halyard, to eliminating the possibility of halyard wrap on your headsail having an internal halyard is a huge advantage.

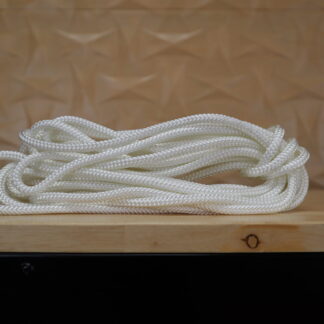
When your Flexible Furler arrives, the halyard will likely arrive too long.
Do not cut the halyard until the Flexible Furler installation is complete.

After you have your new Flexible Furler installed on your boat, and you are ready to hoist your sail, now is the time to determine the correct length for your halyard.

Using the safety line attached to the sail end of your halyard, pull the halyard end down. Make sure to attach a safety line to the opposite side so that the ferrule end of the halyard can be pulled back to the bottom once the sail is secured.
Some trial and error will be required to get the length just right.
Tie the head of your sail to the halyard, start by estimating how much length you may want to remove from the halyard and secure the head of the sail at that point. Do not cut yet. Hoist the sail, and note how far the head is from the top. Lower the sail, and retie the head to take up that gap.

Repeat this process until the sail sits at the correct position on your forestay. Finish by lowering the sail, cutting the excess off of the halyard line, and melting the end of the line to prevent fraying.


Make sure to contact us if you have any questions! We are always happy to help!
Posted on

Which Bearing option should I choose?

CDI Flexible Furler FF4 Installed on Boat

Which Bearing option should i choose?

For the CDI FF1, FF2, FF4, and FF6 you have the option of upgrading to Torlon Ball Bearings. There are many reasons you could want to go with the ball bearings, let’s explore those!

Smoother, easier furling

One of the main advantages of upgrading is that it provides a smoother and easier furling experience. The ball bearings roll smoothly and reduce friction, which means you’ll require less effort to furl your sail, making the process much more comfortable and efficient.

Less stress on your furler and rig

The upgrade to ball bearings means there’s less stress on your furler and rig. The bearings reduce the load and tension on the furling drum, making it easier for the furling line to move smoothly. As a result, the system experiences less wear and tear over time, which means it will last longer and require fewer repairs.

Much easier operation under load

The upgraded ball bearings make for much easier operation under load. When you’re under sail and require furling or reefing, the furling line experiences high tension, which can make it difficult to furl or unfurl your sail. With the ball bearings, the furling drum turns smoothly, and the furling line moves with less resistance, making it easier to furl or reef even under heavy loads.

We highly recommend that any client who finds themselves sailing in high wind situations upgrades to the ball bearings. If you find yourself in an emergency situation needing to reef or even fully pull in your sail, the ball bearings will help make that smooth and safe!

The CDI Ball Bearing is incredibly easy to clean and maintain. There is absolutely no lubricants required! We simply recommend rinsing the bearing with fresh water at the end of your sailing season.


Posted on

Measuring for a CDI Flexible Furler

CDI Flexible furler FF2 model

Measuring before purchasing your new CDI Flexible Furler.

To ensure you purchase the correct model to fit your boat/rig. There are three things we need to measure. First is the pin to pin length of your forestay. We have a helpful instructional video on how to get this measurement below!

The steps are quite simple.


The pin to pin length of your forestay

If your forestay is disconnected from the boat:
1) Lay the forestay out flat
2) Measure from the mast pin at the top of the forstay all the way down to the T-Bolt at the bottom of the turnbuckle*
3) Check your manual to make any deductions required for installation

*If you need to undo the turnbuckle to take the forestay off the rig we highly recommend marking the correct turnbuckle position with a sharpie for easy reinstallation.

If your forestay is connected to the boat:

1) Attach the end of your tape measure to your headsail halyard

2) Hoist the tape all the way up, until it stops on it’s own

3) Take the measurement from your tape. This will get us close to the correct forestay measurement
4) Now we must step back with the tape still hoisted, and look at the distance from the top of the tape, to the forestay pin. Take your best estimate, and add that measurement to the measurement we got from the hoisted tape measure. This is our forestay length.
5) Check your manual to make any deductions required for the installation of your furler.


The diameter of your forestay wire

To measure your forestay wire all you need to do is line calipers up with the thickest point of the wire on each side, and record the measurement from your caliper.


The diameter of the turnbuckle pin

To measure the diameter of your turnbuckle pin, simply use your calipers at the thickest part of the thread.


Posted on

Using a Genoa Sleeve with your CDI Furler

CDI-FlexibleFurler-FF2-installed-on-boat

When would I use a Genoa Sleeve with my CDI Furler?

Whether you have converted your hank on headsail to a furling headsail and want to save the weight addition of the UV, or you need a storage solution for your new race sails, we have a solution for you!
A huge advantage of your new CDI Flexible Furler is the internal halyard. Not only does this eliminate the possibility of halyard wrap, it also frees up your rig’s existing halyard for a genoa sleeve!

Benefits of Using a Genoa Sleeve with a CDI Flexible Furler

There are a few main benefits to using a genoa sleeve with your CDI Furler.

1) Increased Sail Performance

One huge advantage of using a genoa sleeve with your CDI Furler, is
that you can forgo the sacrificial UV protection on the sail. The great
thing about this is you save a ton of weight on the sail! This will
allow your sail designer to maximize the performance of the sail.

2) Sail Protection and Longevity
Keeping your sail completely protected from UV rays while not in use is going to greatly increase the lifespan of your sail!

The genoa sleeve will also keep the sail safe and protected while furled
and not sailing. Our genoa sleeves come equipped with a lashing system
that will protect it from being damaged or blown open in high wind
conditions.

In Summary

Using a Genoa sleeve with a CDI furler can make your sailing experience more comfortable, efficient, and enjoyable. The sleeve helps to protect the sail from the elements, reduce wear and tear, and maintain the sail’s performance long term by protecting the sail from damaging UV rays. Installing a Genoa sleeve is a simple process that can be done by anyone, and it is a perfect fit for your CDI furler! If you’re looking for a way to enhance your sailing experience, consider using a Genoa sleeve with a CDI furler.


Posted on

Do I need a new Mainsail when upgrading to a Mainsail Reefing System?

Do i need a new mainsail when upgrading to a mainsail reefing system?

Introduction:

Sailing enthusiasts always strive to improve their sailing experience, and one way to achieve this is by upgrading their sail management system. If you’re considering moving to a Mainsail Reefing System, you may be wondering, “Why do you need a new mainsail when moving to the Mainsail Reefing System?” In this article, we’ll explore the reasons why upgrading to this system requires a new mainsail, and how it can enhance your sailing experience.

What is a Mainsail Reefing System?

Before delving into the reasons for needing a new mainsail when moving to a Mainsail Reefing System, let’s first understand what it is. A Mainsail Reefing System is a type of sail control mechanism that allows the mainsail to be reefed or furled. This innovative system enables sailors to adjust the sail area quickly and efficiently, all without leaving the cockpit. Making it easier and safer to manage your sail.

Why do you need a new mainsail when moving to the Mainsail Reefing System?

Here are some reasons why:

  1. Size and shape: Mainsails designed for traditional mast and boom setups have a different size and shape than those designed for Mainsail Reefing Systems. A mainsail designed for a mainsail reefing system must have less roach, and must be flatter than a conventional main.
  2. Material: Mainsail Reefing Systems use a specific type of material that can withstand the stress and strain of reefing and furling. These materials are more durable than traditional mainsail materials, making them an essential part of the system.
  3. Design: The design of the mainsail is crucial to the system’s efficiency and performance. Mainsails for reefing systems are designed to be easily reefed and unfurled, ensuring that the sail’s shape and performance remain optimal.

Benefits of the Mainsail Reefing System

Now that we’ve covered why you need a new mainsail when moving to the Mainsail Reefing System, let’s explore the benefits of this innovative system:

  1. Easy handling: The Mainsail Reefing System allows sailors to adjust the sail area quickly and efficiently, making it easy to handle the sail and adjust to changing wind conditions without having to leave the cockpit.
  2. Enhanced safety: Reefing and furling the sail can be dangerous, especially in high winds. The Mainsail Reefing System makes this task more manageable and safer, reducing the risk of accidents.

Considerations When Upgrading to a Mainsail Reefing System

If you’re considering upgrading to a Mainsail Reefing System, here are some important considerations to keep in mind:

  1. Cost: Upgrading to a Mainsail Reefing System can be expensive, as it requires purchasing a new mainsail and the system itself. However, the benefits of the system can outweigh the initial investment.
  2. Maintenance: Unlike some mainsail reefing systems and furlers, the CDI MR2 and MR4/6 requires very little maintenance! We recommend rinsing the spool and bearing out with fresh water once or twice a season.
  3. Installation: Installing a Mainsail Reefing System can be done as a DIY project! We recommend having 1-2 people to help.

FAQs

Q1. Can I use my current mainsail with a Mainsail Reefing System?
A1. No you will need a specifically designed mainsail to work with your Mainsail Reefing System
Q3. Do I need a Mainsail Reefing System if I sail in calm waters?
A3. A Mainsail Reefing System can improve your sailing experience in any sailing conditions, as it allows you to adjust the sail's shape and size quickly and effeciently.
Previous slide
Next slide

Conclusion:

Upgrading to a Mainsail Reefing System can enhance your sailing experience by improving the safety, and ease of handling of your mainsail. However, it’s essential to understand that this system requires a new mainsail designed specifically for the system’s unique features. When considering this upgrade, it’s crucial to keep in mind the benefits, and considerations to make an informed decision.

Please see our video below to see Darryl discussing our Mainsail Reefing Systems with Jeremy Roszmann, an expert sail designer who has designed thousands of sails throughout his career.

Posted on

CDI MR2 Parts List

CDI-MR2-Parts

Welcome, looking for help or replacement parts?

Need Help Installing?

Looking For Replacment Parts For Your MR2?

Download the MR2 Manual

Manual Reference #DescriptionPart Number
1
Halyard Top Fitting Assembly
 
1aHalyard Top Fitting2011
1bHalyard1932
2LuffLFF2
3Mainsail Top Bracket AssemblyMR2007
4Mainsail Top Strap (2)MR2008
5Mainsail Lower Bracket AssemblyMR02006
6Mainsail Spool AssemblyMR2009
6aMainsail SpoolMR2010
6bAnchor Pin (2)1998
6cShackle (2)2007
7Cup, Stainless Steel1807
8Ball BearingBB2
8aScrew, mounting, 8-32 x 1/2MR2032
9Lower Bracket Reefing SheaveMR4011
9aMounting Screw, 10-32x.50 (2)MR4023
9bNylok Nut, 10-32 (2)MR4024
10Reefing CarMR4012
11Reefing TrackMR4013
12Reefing Track Stop (2)MR4014
13Boom Reefing BlockMR4015
13aShackle (1)1935
14Moutning Screw, 1/4-20 x 3/8 (22)MR4016
15Fixture Screw, 1/4-20 x 1 1/2 (2)MR4017
16Clevis Pin, 3/8 x 1 7/8MR4018
17Cotter PinMR4027
18Inner Stay AssemblyMR2028
18aInner StayMR2031
18bStay-lok Eye FittingMR4029
18cDouble Jaw ToggleMR4030
18dNut, 5/16-24 (3)MR2026
19Bolt, 5/16-18 x 2MR2021
19aBolt, 5/16-18 x 2 1/2MR2020
20Nut, 5/16-18, NylockMR2022
21Screw, 10-32 x 1 1/2 (23)MR4025
22Thrust Washer1253
CDI logo with a blue background

Looking for something else?

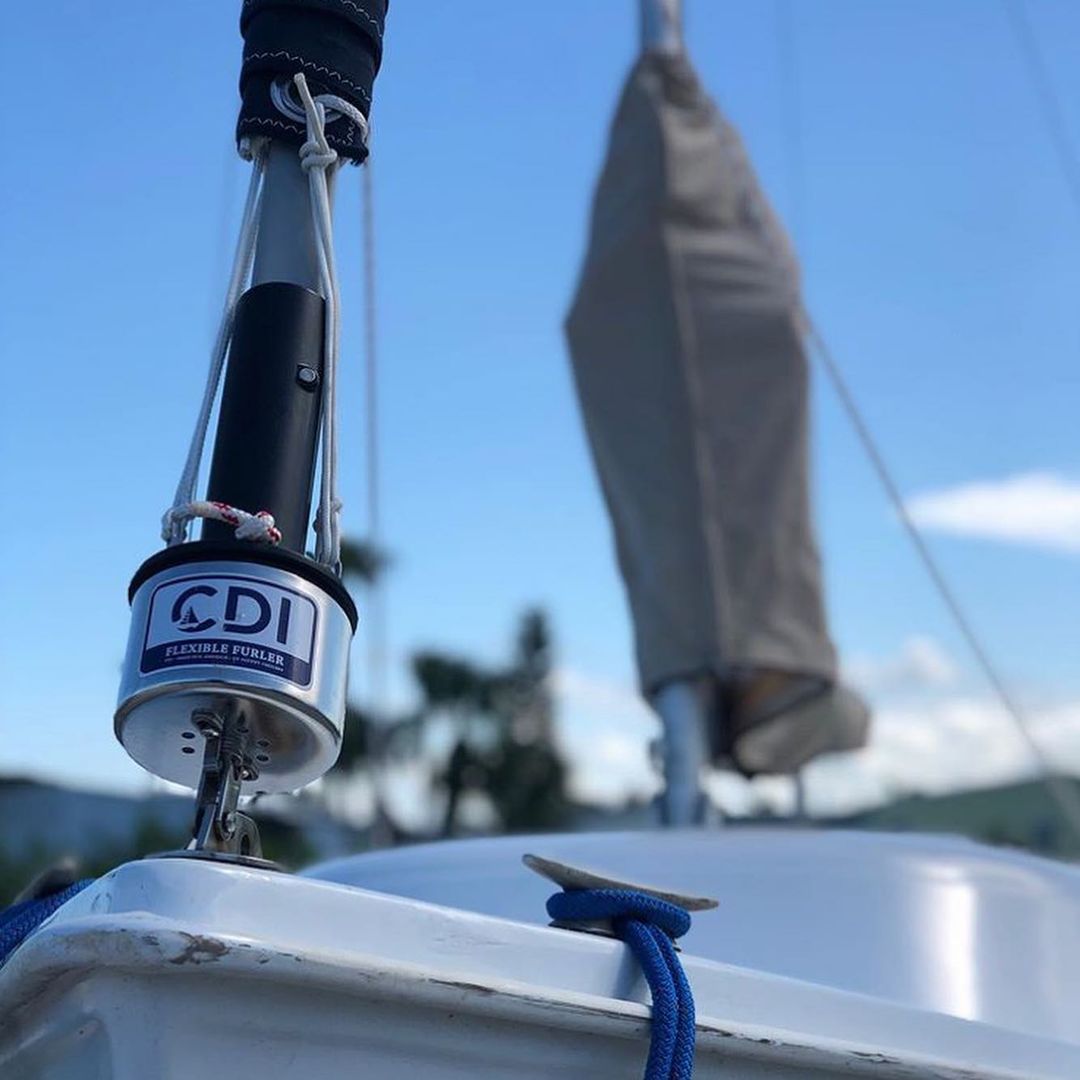
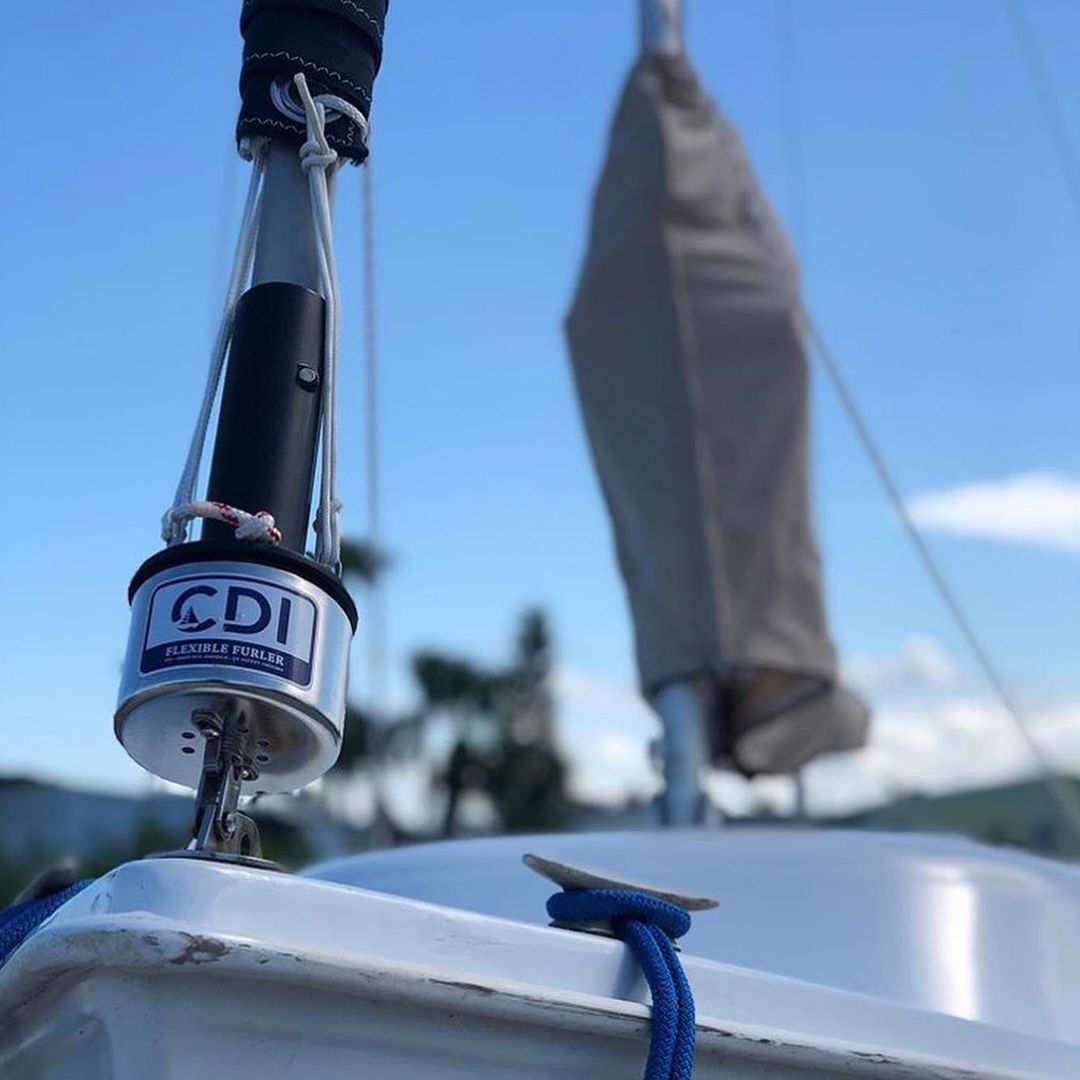
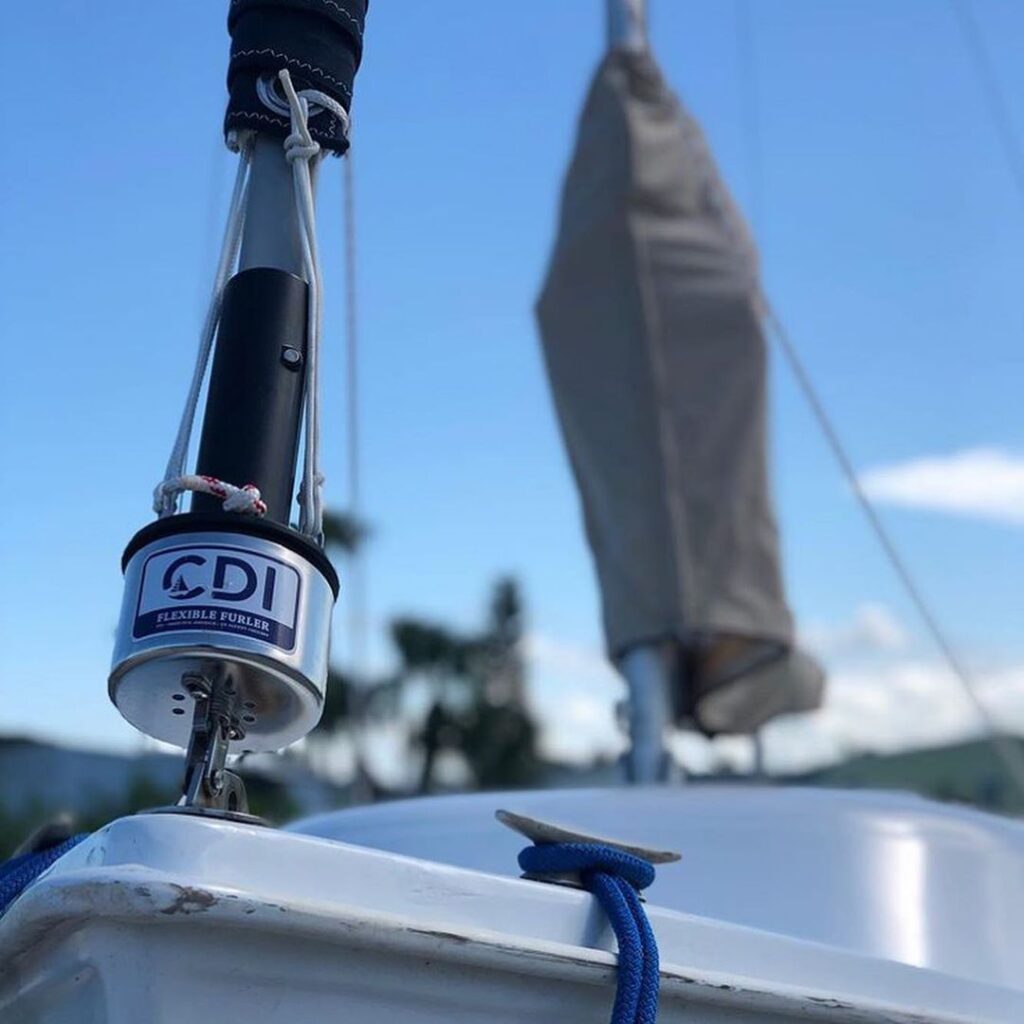
CDI Furler installed on the bow of a boat. Sail is furled with UV protection coiled to protect the sail from the sun.
Posted on

CDI FF9 Parts List

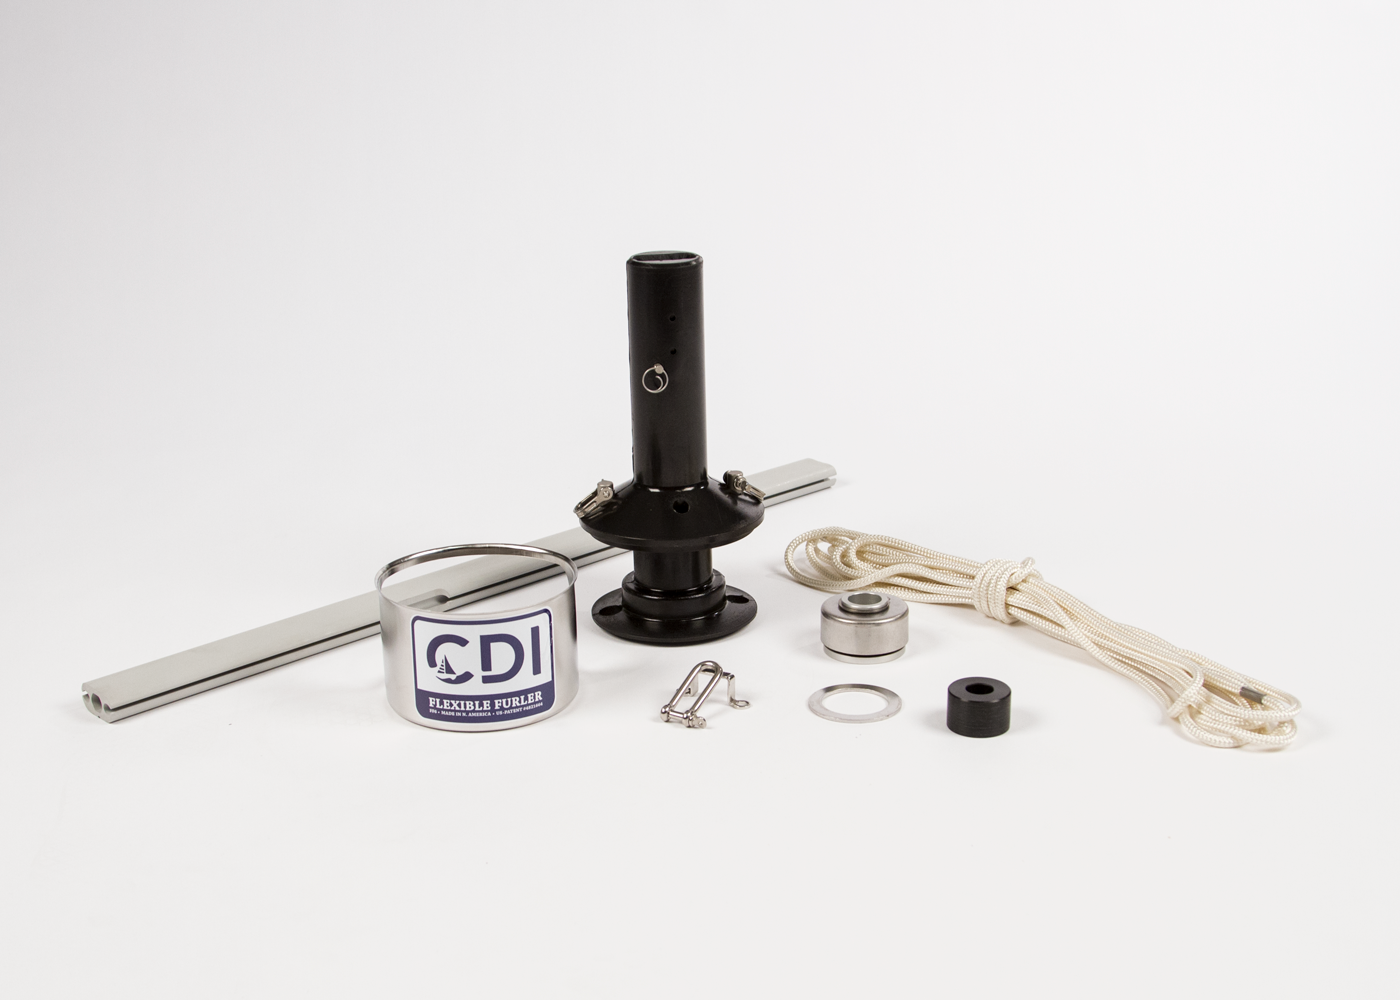
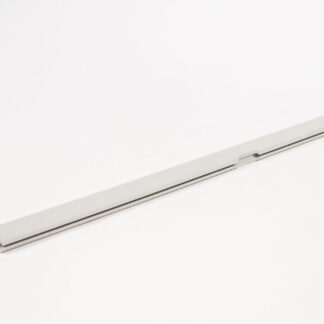
CDI Flexible Furler Parts Laid out on white background.

Welcome, looking for help or replacement parts?

Need Help Installing?

Looking For Replacment Parts For Your FF9?

Download the FF9 Manual

Manual Reference #DescriptionPart Number
1Halyard Top Fitting Assembly2059
1aSheave2069
1bPin2067
2Halyard Assembly, 5/32″ wire x 53′ w/ traveler, shackle and nicropress eye2063
3Luff ExtrusionLFF9
4Spool Assembly2064
5Cleat9000
6Luff Support Pin1865
7Anchor Pin1936
7aAnchor Shackle1935
7bTack Downhaul Block2066
8Tack Downhaul Line, 5/32″ x 12′
9Cup, stainless steel1805
10Ball BearingBB9
11Antirotation Strap2068

Showing 5–8 of 14 results

Showing 5–8 of 14 results

CDI logo with a blue background

Looking for something else?

CDI Furler installed on the bow of a boat. Sail is furled with UV protection coiled to protect the sail from the sun.
Posted on

CDI FF7 Parts List

Welcome, looking for help or replacement parts?

Need Help Installing?

Looking For Replacment Parts For Your FF7?

Download the FF7 Manual

Manual Reference #DescriptionPart Number
1Halyard Top Fitting Assembly2056
1aSheave1157
1bPin1046
2Halyard Assembly, 5/32″ wire x 49′ w/ traveler, shackle and nicropress eye1001
3Luff ExtrusionLFF7
4Spool Assembly1917
5Cleat9000
6Luff Support Pin1865
7Anchor Pin1936
7aAnchor Shackle1935
7bTack Downhaul Block2066
8Tack Downhaul Line, 5/32″ x 12′
9Cup, stainless steel1805
10Ball BearingBB7
11Antirotation Strap1074

Showing 5–8 of 14 results

Showing 5–8 of 14 results

CDI logo with a blue background

Looking for something else?

CDI Furler installed on the bow of a boat. Sail is furled with UV protection coiled to protect the sail from the sun.
Posted on

CDI FF4 and FF6 Parts List

CDI Flexible Furler Parts Laid out on white background.

Welcome, looking for help or replacement parts?

Need Help Installing?

Looking For Replacment Parts For Your FF4?

Download the FF4 Manual

Manual Reference #DescriptionPart Number
AHalyard Top Fitting1204
BLuff Extrusion/FoilLFF4/LFF6
CHalyard Assembly
FF4: 1933 / FF6: 1188
DFurling Drum/Spool1810
EShackle (2)1935
FAnchor Pin (2)1936
GLuff Support pin1219
HCup1806
IAnti-Rotation Strap1036
JTack Tension Line7022-6
KMain Bearing1040
LBall Bearing Assembly1250
MThrust Washer1254

Showing 5–8 of 14 results

Showing 5–8 of 14 results

CDI logo with a blue background

Looking for something else?

CDI Furler installed on the bow of a boat. Sail is furled with UV protection coiled to protect the sail from the sun.
Posted on

CDI FF2 Parts List

CDI Flexible Furler FF1


Welcome, looking for help or replacement parts?

Need Help Installing?

Looking For Replacment Parts For Your FF2?

Download the FF2 Manual


Manual Reference # Description Part Number
A Halyard Top Fitting 2011
B Luff Extrusion/Foil LFF2
C Halyard Assembly 1932
D Furling Drum/Spool 2010
E Shackle (2) 2007
F Anchor Pin (2) 1998
G Luff Support pin 2009
H Cup 1807
I Anti-Rotation Strap 1081
J Tack Tension Line 7022-4
K Main Bearing 1033
L Ball Bearing Assembly 1276
M Thrust Washer 1253

Showing 5–8 of 14 results

Showing 5–8 of 14 results

CDI logo with a blue background

Looking for something else?

CDI Furler installed on the bow of a boat. Sail is furled with UV protection coiled to protect the sail from the sun.
Posted on 1 Comment

CDI FF1 Parts List

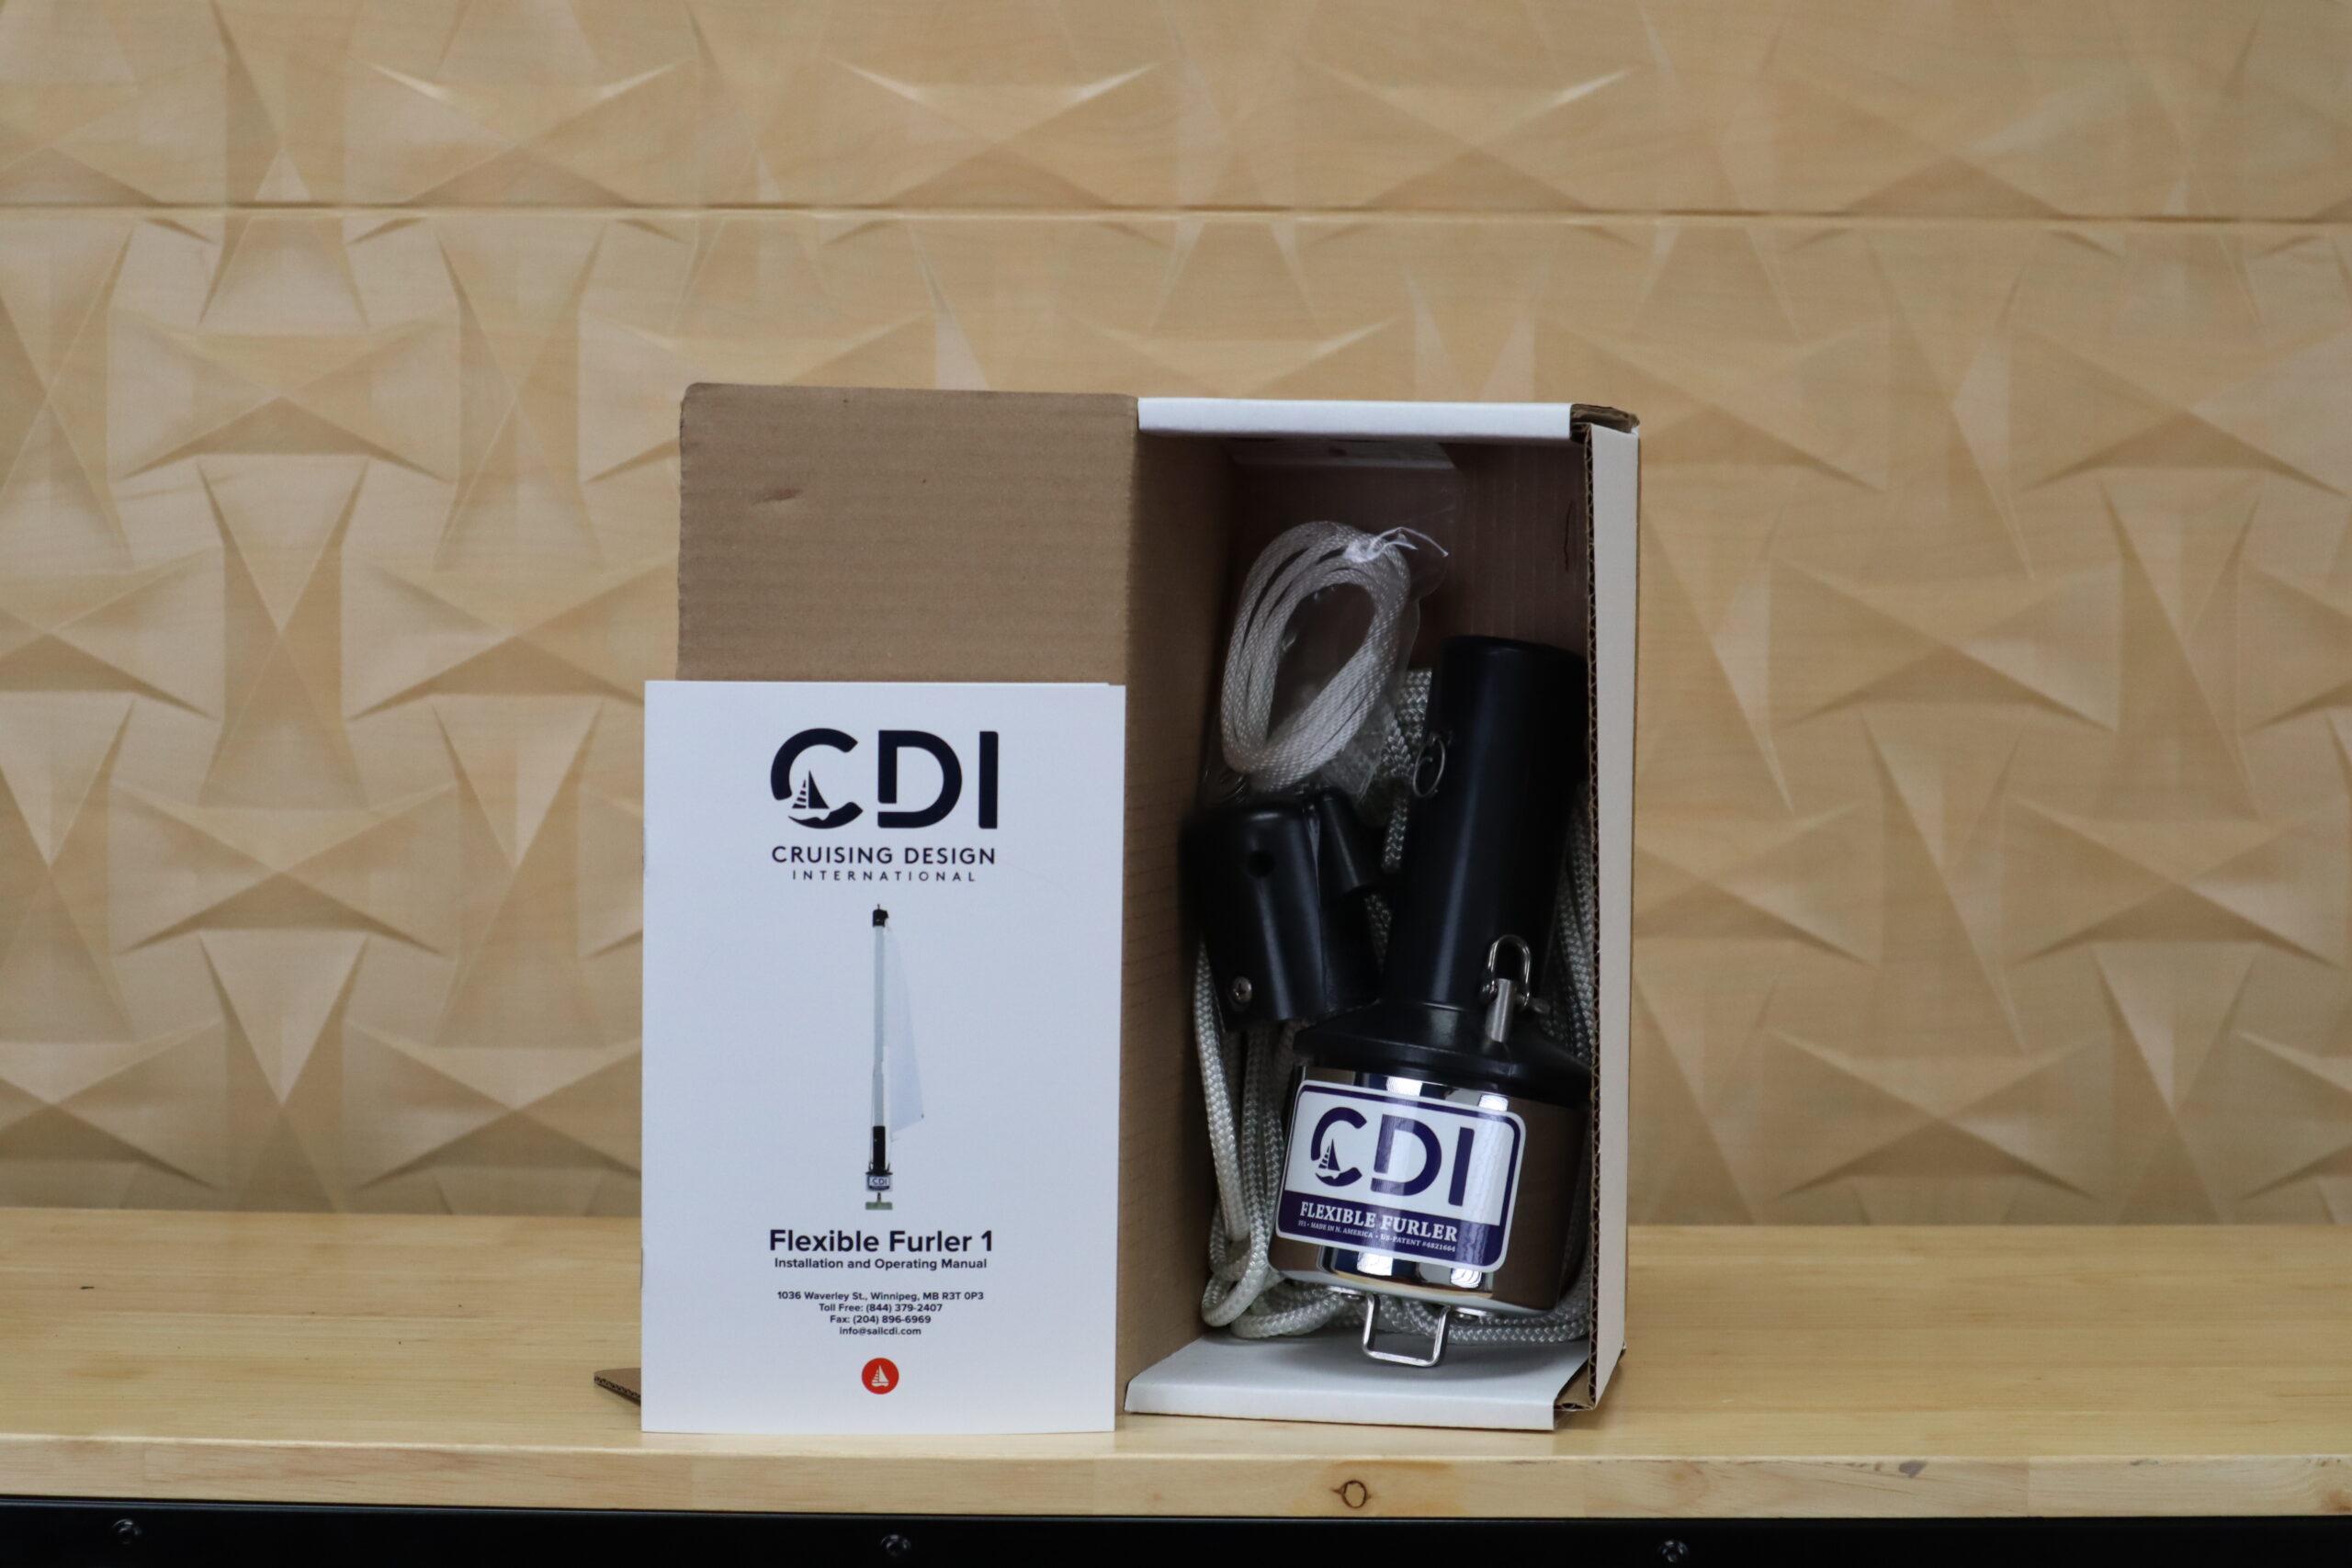
CDI Flexible Furler FF1

Welcome, looking for help or replacement parts?

Need Help Installing?


Click here

Looking For Replacment Parts For Your FF1?


Click here

Download the FF1 Manual


Download

FF1 Parts List    
Manual Reference # Description Part #
A Luff LFF1
B Furling Drum Assembly 2017
C Luff Support Pin (3/16″ x 2 1/32″) 2009
D Anchor Pin 1998
  Shackle 2007
E Main Bearing, HDPE plastic (standard)
or
1033
  Ball Bearing, torlon balls (optional) BB2
F Cup, stainless steel 1872
G Antirotation Strap 1081
H Ferrule (the little metal tube swaged on halyard)
J Halyard Top Fitting 1995
K Halyard Assembly, ¼” x 25’ 2008
L Tack Tension Line, 1/8” x 4’ 11921
M Thrust Washer 1253

Showing 5–8 of 14 results

Showing 5–8 of 14 results

Looking for something else?


contact us